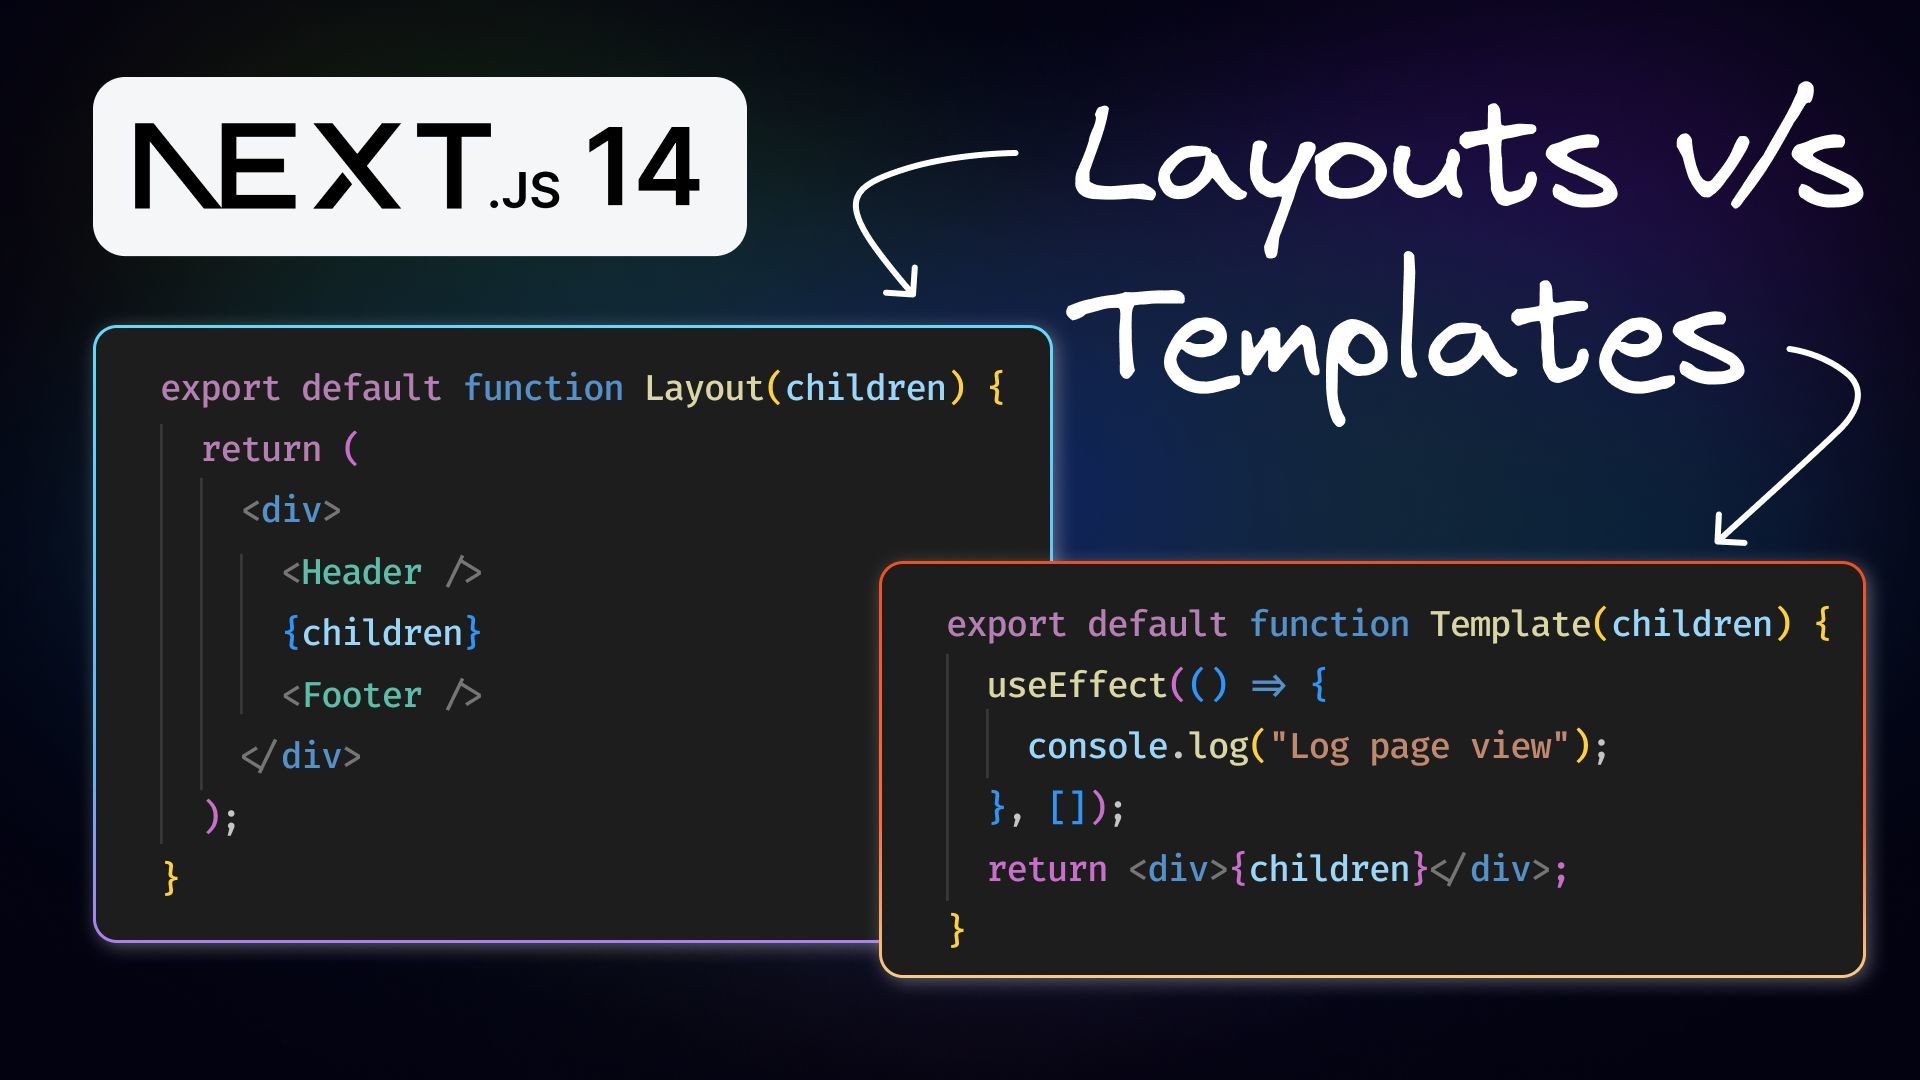
The new app router in Next.js introduced two new file conventions for building UI: layouts and templates. These help you organize your web pages, keep track of changes, and make your website run faster.
It's vital to know when and how to use each one to make your web applications work well and efficiently. This article will explain the differences between layouts and templates in an easy way, show you how to set them up, and suggest the best situations for using them.
Layouts in Next.js act as persistent UI shells that wrap around the application's pages. They let developers define a common structure that stays intact across different routes without re-rendering. This is particularly useful for components like headers, footers, and sidebars that should remain consistent as users navigate through the app.
Templates in Next.js also act as UI shells that wrap around pages but with a key difference: a template is fully remounted every time a user navigates to a new page. This remounting process resets the component state and effects, providing a fresh start with each page transition.
To define a layout, create a React component in a file named layout.js or layout.tsx. This component should include a children prop to integrate child layouts or pages.
Here's a basic layout component example:
// app/layout.tsx

import Header from "./Header";
import Footer from "./Footer";

export default function Layout({ children }: { children: React.ReactNode }) {
  return (
    <div>
      <Header />
      {children}
      <Footer />
    </div>
  );
}
A template can be defined by exporting a default React component from a template.js or template.tsx file. Similar to a layout, the component should accept and render the children prop.
Here’s an example of a basic template component:
// app/template.tsx

"use client";
import { useEffect } from "react";

export default function Template({ children }: { children: React.ReactNode }) {
  useEffect(() => {
    console.log("Log page view");
  }, []);
  return <div>{children}</div>;
}
Tip: A single route can effectively contain both a layout and a template, with the layout serving as an outer shell that encases the template within it.
Let’s consider a minimal example to demonstrate component remounting when using layouts versus templates. Begin with a Next.js project initialized with create-next-app.
Inside the app folder, create an auth directory.
In the auth folder, add a login subdirectory with page.tsx to construct the login page:
export default function LoginPage() {
  return <h1>Login</h1>;
}
Create a register subdirectory with page.tsx for the registration page:
export default function RegisterPage() {
  return <h1>Register</h1>;
}Still within the auth directory, create a layout.tsx file that encompasses a user feedback input and navigation links:
"use client";
import Link from "next/link";
import { useState } from "react";

export default function AuthLayout({ children }) {
  const [feedback, setFeedback] = useState("");
  return (
    <div>
      <label htmlFor="feedback">Your UX Feedback</label>
      <input
        id="feedback"
        value={feedback}
        onChange={(e) => setFeedback(e.target.value)}
      />
      <nav>
        <Link href="/auth/login">Login</Link>
        <Link href="/auth/register">Register</Link>
      </nav>
      {children}
    </div>
  );
}
Toggle between the login and register routes and observe that the feedback input's state is maintained.
Change the filename from layout.tsx to template.tsx. With this change, as you navigate between the login and register pages, the feedback input's state is reset, indicating that the component is remounted with each route change.
When developing a web application, you'll encounter scenarios where you need to decide between using layouts or templates. Here’s a guide to help you make an informed decision:
Opt for layouts to:
- Ensure consistency. Use layouts to provide a uniform appearance and behavior across your application. They are ideal for common elements like headers and footers.
- Maintain state. Layouts are beneficial for their ability to hold state and behaviors that should be persistent during navigation, such as user login status.
- Boost performance. They minimize re-renders and streamline state management, which can lead to performance improvements.
Choose templates when you need:
- Isolation. Templates are useful when components should not share state or behaviors, as they re-mount and re-render upon navigation.
- Behavioral flexibility. If you need to trigger certain effects or state changes every time a user navigates to a component, templates provide this capability. For instance, they're suitable for:
- Tracking page views with
useEffect. - Collecting feedback with a
useStatemanaged form that's unique to each page. - To alter default behaviors. Templates can modify how certain features work within your framework. For example, they can control the display of fallback UIs in Suspense Boundaries during page transitions, which layouts cannot do.
In summary, default to layouts for their performance and state management advantages, especially for static and consistent elements across pages. On the other hand, templates are your go-to for creating distinct, state-independent instances of components where effects and state initialization should happen on each navigation.
In essence, Next.js layouts and templates offer distinct approaches for UI construction:
- Layouts provide a stable UI framework that reduces re-renders and maintains state across navigation, ideal for consistent site-wide components.
- Templates, by contrast, reset state and re-render with each page visit, suited for distinct, page-specific behavior.
Choose layouts for efficiency and consistency, and templates for isolated, state-independent components that require fresh state on navigation. The right choice hinges on the specific needs of each page within your Next.js application, balancing user experience with performance.
Builder.io visually edits code, uses your design system, and sends pull requests.
Builder.io visually edits code, uses your design system, and sends pull requests.


 Connect a Repo


